1、使用Actuator检查与监控
1.1、创建项目
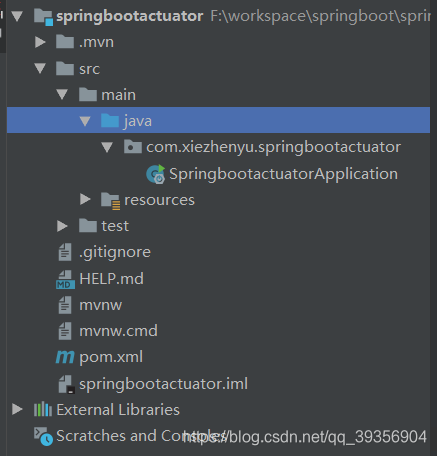
1.2、需修改POM文件,添加依赖
1
2
3
4
5
|
<dependency>
<groupId>org.springframework.boot</groupId>
<artifactId>spring-boot-starter-actuator</artifactId>
</dependency>
|
1.3、修改配置文件
1
2
3
4
5
6
7
8
| #配置访问端点的跟路径
management.endpoints.web.base-path=/actucator
#配置开启其它端点的URI
#开启所有端点的访问:*
#指定开启端点访问:beans,env
management.endpoints.web.exposure.include=*
#排除端点的访问
management.endpoints.web.exposure.exclude=env,beans
|
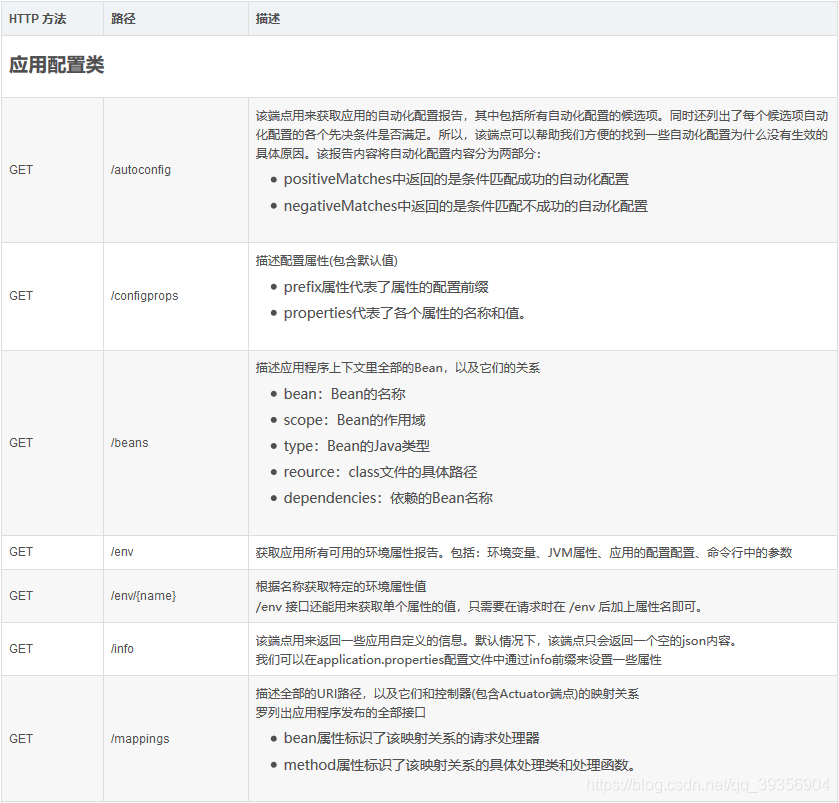
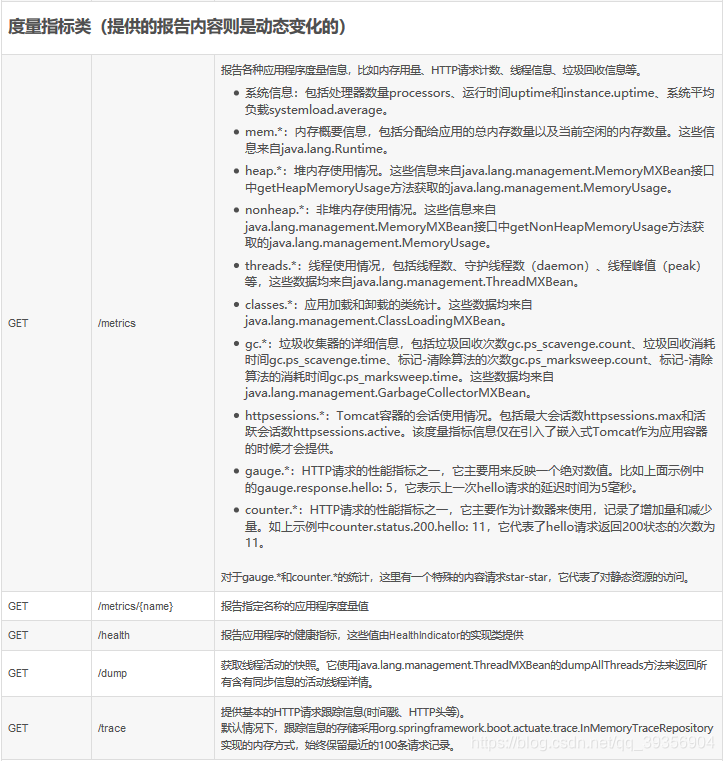
1.4、各项监控指标接口URL介绍

2、使用可视化监控应用Spring Boot Admin
2.1、使用步骤
Spring Boot Admin 的使用是需要建立服务端与客户端。
服务端:独立的项目,会将搜集到的数据在自己的图形界面中展示。
客户端:需要监控的项目。
对应关系:一个服务端可以监控多个客户端。
2.2、搭建服务端
2.2.1、创建项目
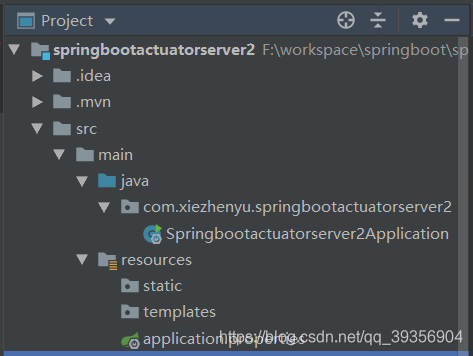
2.2.2、修改POM文件
注意:目前Spring Boot Admin Starter Server2.1.6版本中不支持2.2.x版本,只支持到2.1.X版本。
1
2
3
4
5
6
7
8
9
10
11
12
13
14
15
16
17
18
19
20
21
22
23
24
25
26
27
28
29
30
31
32
33
34
35
36
37
38
39
40
41
42
43
44
45
46
47
48
49
50
51
52
53
54
| <?xml version="1.0" encoding="UTF-8"?>
<project xmlns="http://maven.apache.org/POM/4.0.0" xmlns:xsi="http://www.w3.org/2001/XMLSchema-instance"
xsi:schemaLocation="http://maven.apache.org/POM/4.0.0 https://maven.apache.org/xsd/maven-4.0.0.xsd">
<modelVersion>4.0.0</modelVersion>
<parent>
<groupId>org.springframework.boot</groupId>
<artifactId>spring-boot-starter-parent</artifactId>
<version>2.1.0.RELEASE</version>
<relativePath/>
</parent>
<groupId>com.xiezhenyu</groupId>
<artifactId>springbootactuatorserver2</artifactId>
<version>0.0.1-SNAPSHOT</version>
<name>springbootactuatorserver2</name>
<description>Demo project for Spring Boot</description>
<properties>
<java.version>1.8</java.version>
</properties>
<dependencies>
<dependency>
<groupId>org.springframework.boot</groupId>
<artifactId>spring-boot-starter-web</artifactId>
</dependency>
<dependency>
<groupId>de.codecentric</groupId>
<artifactId>spring-boot-admin-starter-server</artifactId>
<version>2.1.0</version>
</dependency>
<dependency>
<groupId>org.springframework.boot</groupId>
<artifactId>spring-boot-starter-test</artifactId>
<scope>test</scope>
<exclusions>
<exclusion>
<groupId>org.junit.vintage</groupId>
<artifactId>junit-vintage-engine</artifactId>
</exclusion>
</exclusions>
</dependency>
</dependencies>
<build>
<plugins>
<plugin>
<groupId>org.springframework.boot</groupId>
<artifactId>spring-boot-maven-plugin</artifactId>
</plugin>
</plugins>
</build>
</project>
|
2.2.3、修改配置文件
2.2.4、修改启动类
1
2
3
4
5
6
7
| @SpringBootApplication
@EnableAdminServer
public class Springbootactuatorserver2Application {
public static void main(String[] args) {
SpringApplication.run(Springbootactuatorserver2Application.class, args);
}
}
|

2.3、搭建客户端
客户端对Spring Boot的版本没有要求
2.3.1、修改POM文件
1
2
3
4
5
| <dependency>
<groupId>de.codecentric</groupId>
<artifactId>spring-boot-admin-starter-client</artifactId>
<version>2.1.0</version>
</dependency>
|
2.3.2、修改配置文件
1
2
| #指定服务端的访问地址
spring.boot.admin.client.url=http://localhost:9090
|